About 3 weeks after you apply the semi-permanent varnish, regrowth starts to appear, so it’s time to move on to removing the color gel and caring for your nails! Unlike a classic varnish, the semi-permanent requires a slightly more technical application to know well so as not to make mistakes.
There is no point rubbing your manicure for hours with nail polish remover or scraping off the polish, you would definitely risk damaging your nails by damaging the thin protective layer on the surface of your natural nail. luckily, the nail supply expert Maryton will explain how to remove the semi-permanent varnish to you in this article.
Polish:
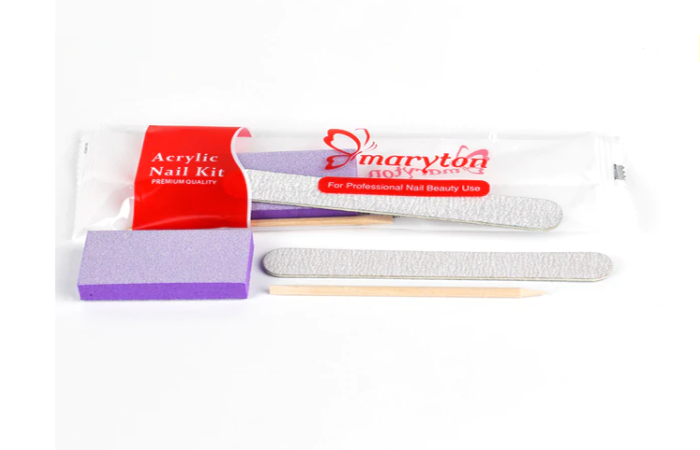
First of all, you must start by polishing the surface of the nail to remove the layer of top coat and the shiny surface of the varnish. To do this, you can use a buffing block and make light circular movements until the shiny layer of varnish is removed.
Foil method:
You can follow the so-called “papillote” method which consists of coating each of your fingers in cotton pads soaked in a remover. Secondly, wrap your fingers one by one in aluminum foil. Leave for 10 to 15 minutes and remove. Finish by gently scraping off the remnants of semi-permanent with a wooden stick for a flawless finish.
Hydrate:
For a perfect finish, it is essential to take care of your nails in order to keep them strong and healthy. This is why it is important to moisturize them regularly with our range of natural vegetable oils at low prices to nourish them, strengthen them durably and regain all their shine.
Hoping that this article has pleased you and will give you ideas! In addition, I also advise you to invest in some professional manicure sets to care for nails.
Read also: How to realize flowers nails step by step?
source:


