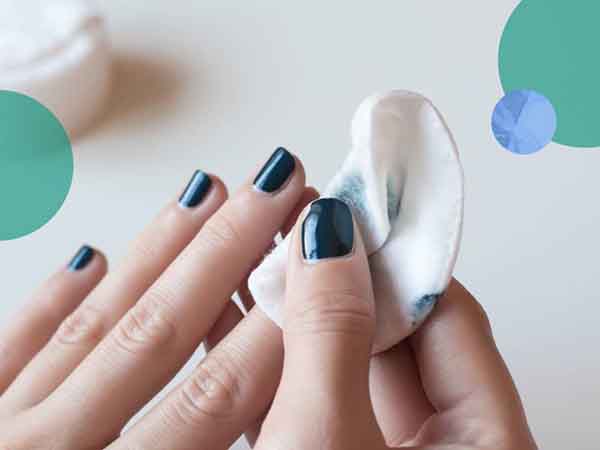
Today I want to suggest a small idea that can be useful to solve the problem of dry nails after removing the nail polish: the creation of a DIY moisturizing solvent.
This little solution is very easy to do and will help all nail art lovers who change color often or who use removal products very frequently. The ingredients are very few and you can customize it to your liking, including essential oils to perfume your solvent and make its use even more pleasant.

Moisturizing nail polish remover: how to make it at home
To make this nail polish remover without attacking your nails you will need three simple basic ingredients:
- A traditional acetone-free solvent
- Lavender essential oil (read all its properties)
- Jojoba oil
Before starting, open the windows. It is always advisable that the room is well ventilated when using nail polish remover! The procedure is very simple: it will be sufficient to open your bottle of acetone-free solvent and add a dozen drops of the two essential oils. Shake well and leave to rest for a few hours in a cool and dry place. Before using your home made moisturizing nail polish remover, shake the bottle well and that’s it!
You will immediately see the difference! Instead of lavender oil, you can also use rosehip oil or a lemon oil which, in addition to moisturizing, will also whiten the nail surface.
What do you think of the idea of create a DIY moisturizing nail polish remover? Will you try it or have you already tried? I hope this post can help you create a DIY moisturizing nail polish remover. If you want to get know more of nail products, take a look at our Maryton nail supply, and you will find more products at affordable prices.
Read also:Glitter Ombre Nail Art
source:


