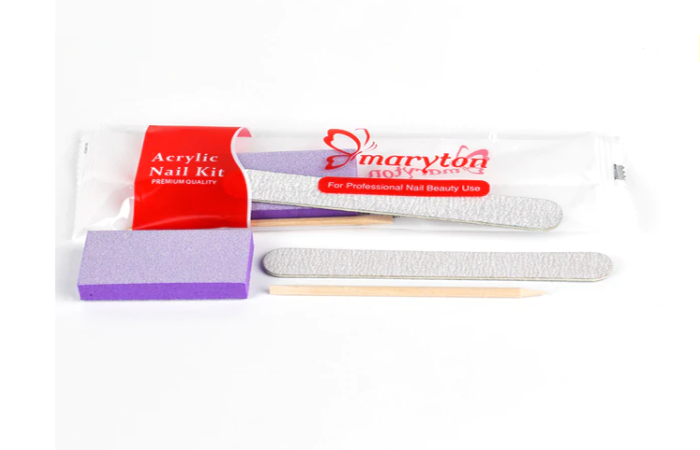
Generally, we tend to go to the salon to apply semi-permanent varnishes. However, not always have the free time to get manicures. In fact, we can do our own nail art at home. Today, your nail supply expert Maryton will tell you how to apply the semi-permanent varnish yourself.
You need to start with the preparation of the nails. It is a question of giving them the desired shape, using a file. Next, you need to push the cuticles in order to get a nice look at the root of your nails. Afterwards, you must move on to polishing with nail buffers, which will allow a better adhesion of the semi-permanent varnish.
Now you can move on to applying the actual varnish. You should always start with the base coat in order not only to protect your nails, but also to allow a better hold. Then, follow with the two coats of semi-permanent varnish, to finish with the finishing gel. Between each layer, you must pass your nails under UV or LED lamp.
OK! I believe you have know how to take care of your semi-permanent varnishes. In addition, I advise you to invest in a complete professional manicure kit to care for your nails!
Read also: How often should semi-permanent varnish be used?
source:


