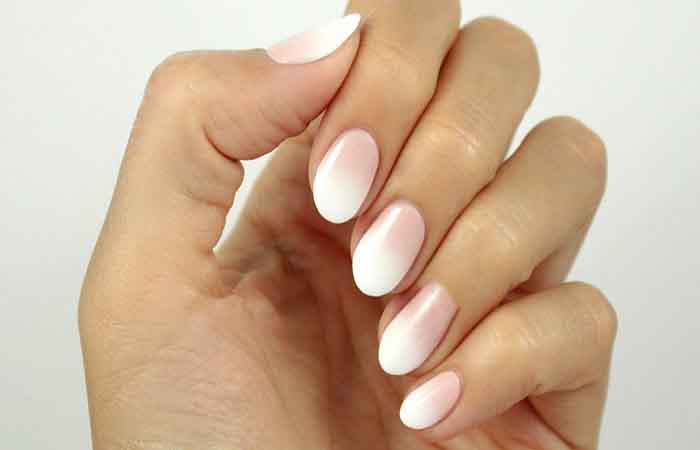
Over the years, our nails have become a means of expressing our personality. Do you lack inspiration for your nails? Do you know how to make a perfect manicure? In this blog, Maryton nail supply invite you to discover 3 nail art tutorials to do urgently. Keep reading!
Tips for performing a reverse French manicure!
First step: Apply a first layer of your base color on all the nails. Let it dry for a few minutes before applying a second coat.
Second step: The drawing of the half-moon. If it is impossible for you to draw a line correctly, we advise you to use a help support.
Third step: Fix your work with a top coat. It will also make your nails shine and even out the thickness of your nail art.
Tutorial: The “bubble heart” trend
To achieve this manicure, you will need several colors of varnish, a fine brush, a top coat and a lot of patience!
- Wait until each heart is dry before starting the next one.
- Then, the final touch, the top coat! This will protect your nail art and give it a shiny or matte effect.
All the tips for creating a graphic manicure
One of the trends of this season is the graphic manicure. Again, don’t worry, this manicure can be very simple to achieve.
- First, apply a first coat of varnish.
- Once dry, apply a second coat for a completely opaque finish.
- For the graphic part of the nail art. Using a fine brush, draw different lines on your nails, these can be totally abstract or in the shape you want.
- For the designs you can use different colors. You can use similar tones or play with different bright colors for a summer nail art!
- Finally, finish with a top coat to make your nails shine!
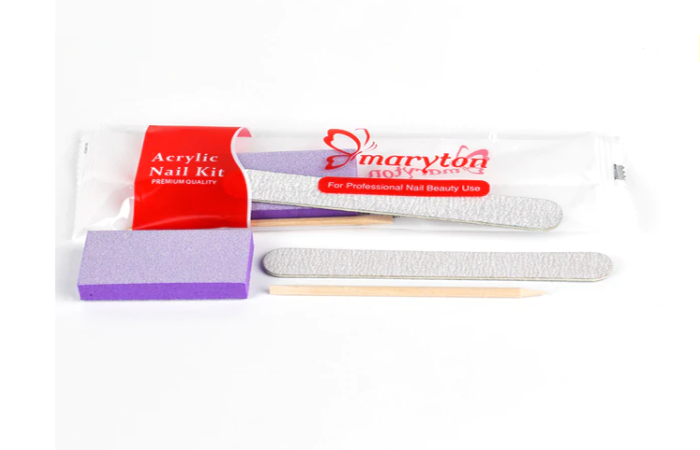
OK! Now you know everything you need to know to make a perfect manicure, bring your manicure kit and act now! It doesn’t matter if you don’t have nail tools. We have everything all you need.
Read also: Why does your semi-permanent nail polish not hold?
source:


One thought on “How to make a perfect manicure?”