In this article, the nail supply expert Maryton will explain step by step how to apply gel nails. This guide is for all neophytes, it will introduce you to the application of UV gel nails, quickly and easily!
The essential steps for applying UV Gel nails:
1. First of all, it is important to disinfect your hands and nails.
2. The next step is to push back the cuticles and eliminate the small skins that adhere to the surface of the nail.
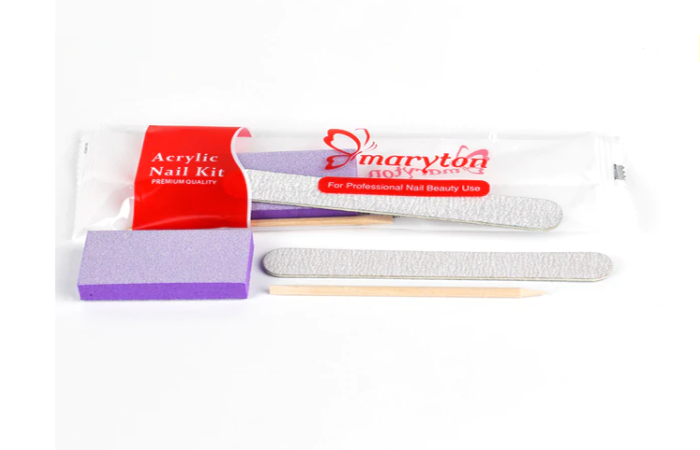
3. File the surface of the nail with a buffing block. The goal is to scratch the plate so that the gel adheres well and be strong.
4. It’s time to choose the size of the capsules. To choose the right tips, it must cover the surface of the nail without deforming.
5. The ideal is to start with primer. Apply the primer to your natural nails to allow the UV gel to adhere to your nails.
6. The next step is the base. Apply a thin layer of transparent UV gel, over the entire surface of the nail.
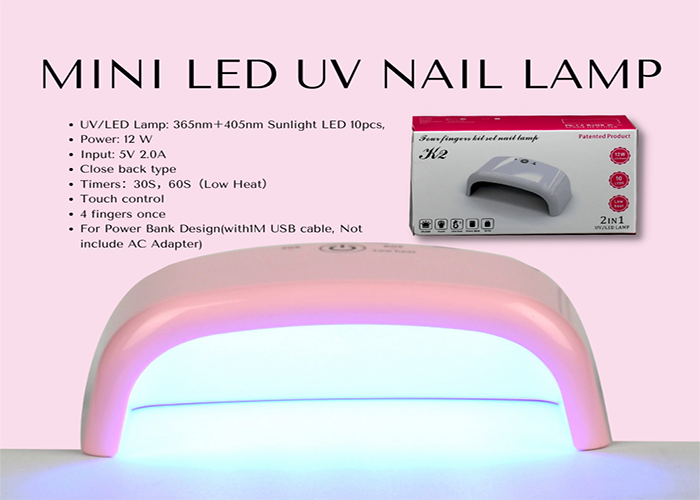
7. Do the bomber by placing an additional small amount of gel between your natural nail and the capsule. Catalyze 2 minutes under the UV lamp.
8. Now the finish, apply a thin layer of pink UV gel as if you were applying classic nail polish over the entire surface of the nail.
Hoping that this article has pleased you and will give you ideas! In addition, I advise you to invest in a complete professional manicure kit to care for your nails!
Read also: How to achieve donut manicure step by step?
source:


