Irregular nails, a nail polish that is too chipped and the nail that splits… we’ve all experienced that and we’re not going to lie to each other, it’s a little neglected! You just need to know the steps to follow, so that doing a manicure no longer becomes a torture! Following these steps, you will find that it can be very easy to achieve your manicure at home. In 10 steps here is the solution:
- You have to remove the old varnish
Always start by removing the varnish applied previously. Preferably with a mild solvent and ideally without acetone, because it will not attack your nails! Above all, don’t scratch, you risk tearing off small pieces of nail
- File the nails
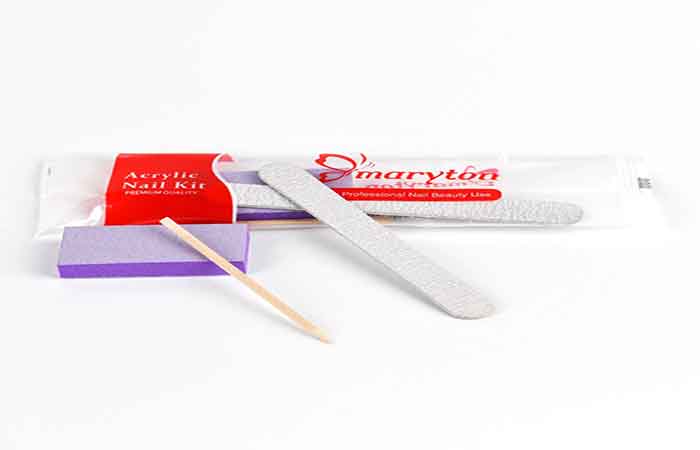
File your nails rather than cutting them. This way you can give them the desired shape more precisely. We don’t always think about that, but always file in the same direction, so as not to split them。
- Heal the cuticles
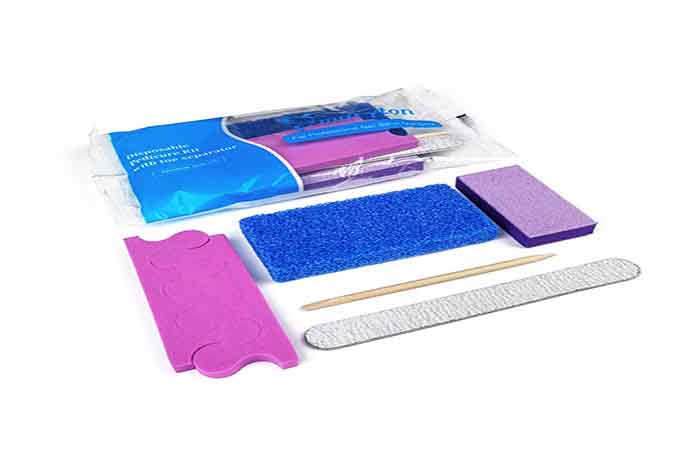
The top is to apply a special cuticle oil and leave it for a few minutes. When your cuticles are fairly well softened, gently push them back with a wooden stick. They should not be cut, because they are useful to protect our nails and they would grow back twice as fast!
- Clean the nails
Rub your nails with a cotton pad soaked in water to remove all oil residue, then dry your hands with a clean cloth and repeat if necessary because if there is oil left, your nail polish will hold more difficultly.
- Polish the surface
Polish your nails with a polisher. This step will make it possible to erase all the small irregularities and to make them shinier.
- Apply a base
The base is essential to protect your nails from yellowing due to varnish. Do not neglect this step, it is important. You can choose a simple base, or a base with assets that suit your needs. Some strengthen the nails, others accelerate the growth, still others have a whitening effect, etc.
- Apply polish
The brush should not be too loaded with varnish, there is a risk of overflowing. Start by making a strip in the center of your nail, then two strips to the left and right of the first.
- Apply a second coat
The second layer makes the varnish more opaque and the color more intense. In addition, it will make the traces of the brush disappear!
- Let dry
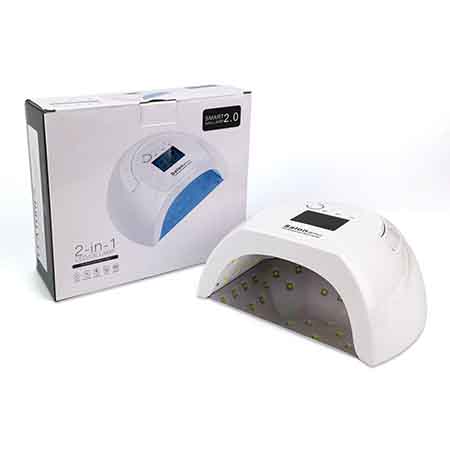
Let it dry with a UV/LED lamp. It would be a real shame to ruin all your efforts! The varnish requires 15 minutes to dry. Even if it seems dry on the surface, it may still be liquid in the heart!
- Apply a top coat
Finish with a Top Coat to protect your nail polish and give it maximum shine! It’s the final touch that makes your manicure beautiful.
Here is your simple little manicure routine, which will allow you to have pretty hands, always on top of the top! The process is the same for the feet!
Read also: How to make a home manicure easily?
source:


